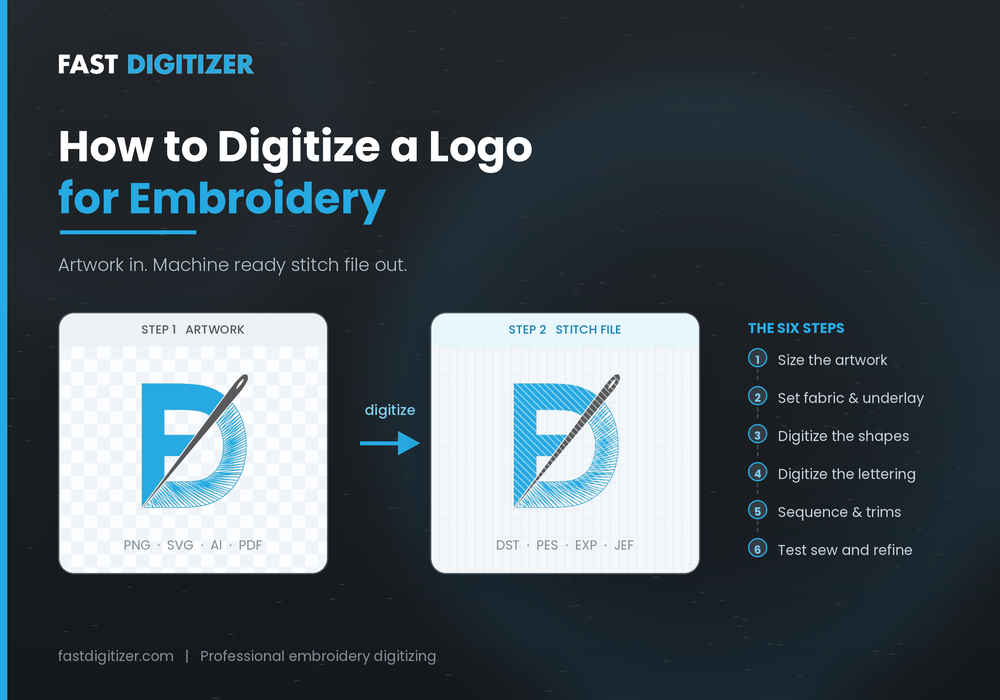
Learning how to digitize a logo for embroidery means learning to think in thread instead of pixels. Your machine cannot read a PNG or an SVG. It reads a stitch file that tells the needle exactly where to go, in what order, at what angle, and how tightly. This guide walks through the full workflow, the numbers that decide whether a design succeeds, and the points where most first attempts go wrong.
What It Actually Means to Digitize a Logo for Embroidery
Digitizing is not file conversion. Instead, a digitizer rebuilds your logo shape by shape and tells the machine how to stitch each one. Since software cannot judge how a knit polo stretches or how a curved cap panel distorts a circle, a human makes those calls.
That distinction explains why free converters disappoint. They trace outlines and fill them, yet they never account for fabric behaviour. Consequently, the file looks correct on screen and puckers on the garment.
What You Need Before You Digitize a Logo for Embroidery
Five things decide the quality of the finished file, and four have nothing to do with software.
- Clean artwork. Vector formats such as AI, EPS, SVG, or PDF work best, although a sharp PNG or JPG is usable if the shapes and text read clearly.
- The finished size in inches. Not the size of the image file, but the actual width and height on the garment.
- The placement. Left chest, cap front, sleeve, jacket back, and towel all behave differently.
- The fabric. Cotton pique, performance knit, fleece, structured twill, and terry each need different settings.
- Your machine format. DST, PES, EXP, JEF, HUS, VP3, and others are not interchangeable.
How to Digitize a Logo for Embroidery: Six Steps
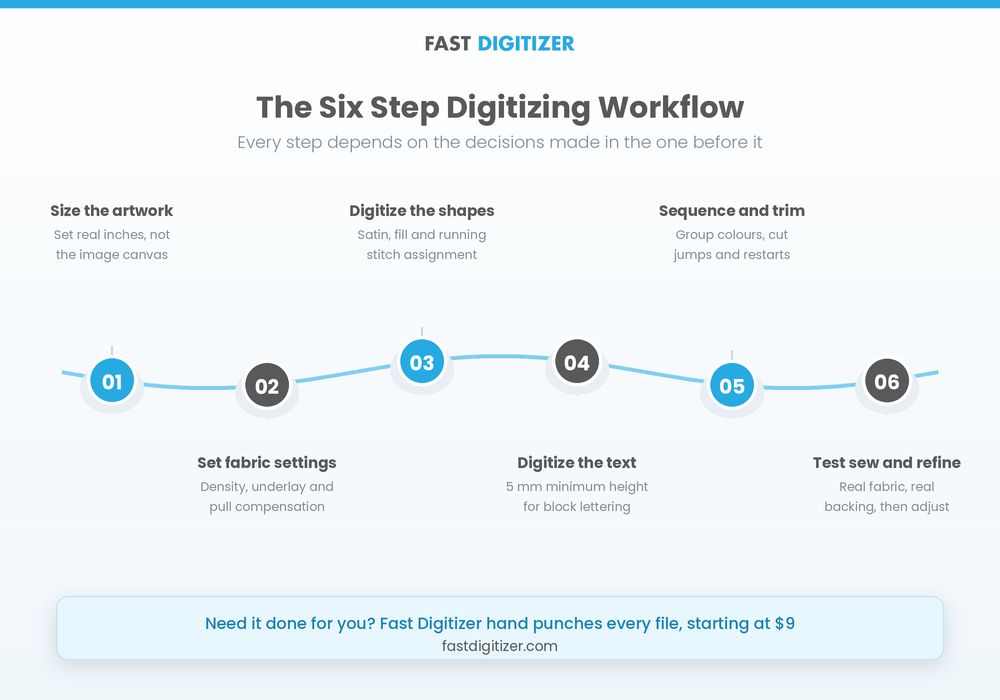
To digitize a logo for embroidery properly, the process runs from artwork preparation through to a tested sewout. Beginners usually complete a simple logo in one to three hours, while a detailed design can take considerably longer. Follow the order below, because each step depends on decisions made in the one before it.
Step 1: Prepare and size the artwork
Import your logo as a backdrop image, then set the real embroidery dimensions immediately. Because many logo files arrive with heavy white space, sizing to the image canvas produces a design that is far too large or far too small.
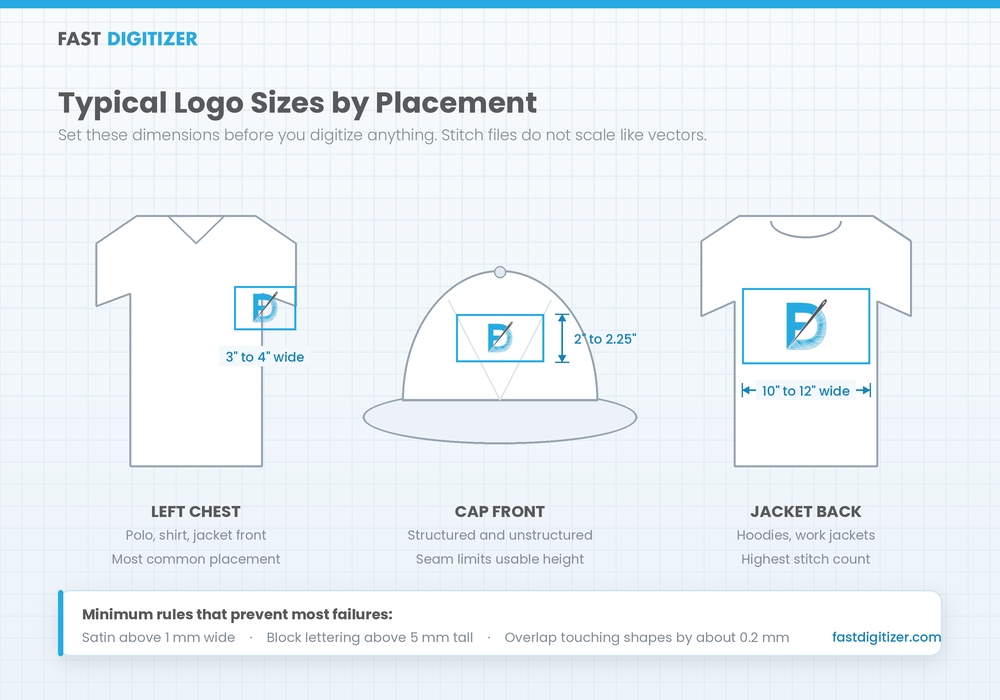
Typical sizes give you a starting point. Left chest logos usually land between 3 and 4 inches wide, cap fronts sit around 2 to 2.25 inches tall because the seam limits the area, and jacket backs run 10 to 12 inches wide.
Now look hard at the detail. If your logo carries a thin tagline or fine linework, a 3 inch version will lose it. In that case, simplify the artwork or build a separate version for small placements.
Step 2: Set fabric, density and underlay
Underlay is the hidden foundation layer that stabilises fabric before the visible stitches land on top. Without it, knits move under the needle and the design shifts. Density controls how tightly stitches pack, so it must suit the material rather than a software default.
As a general guide, stable wovens such as twill need lighter support, while knits and performance fabrics need more. Structured caps need strategic underlay yet reduced pull compensation.
Step 3: Digitize the main shapes
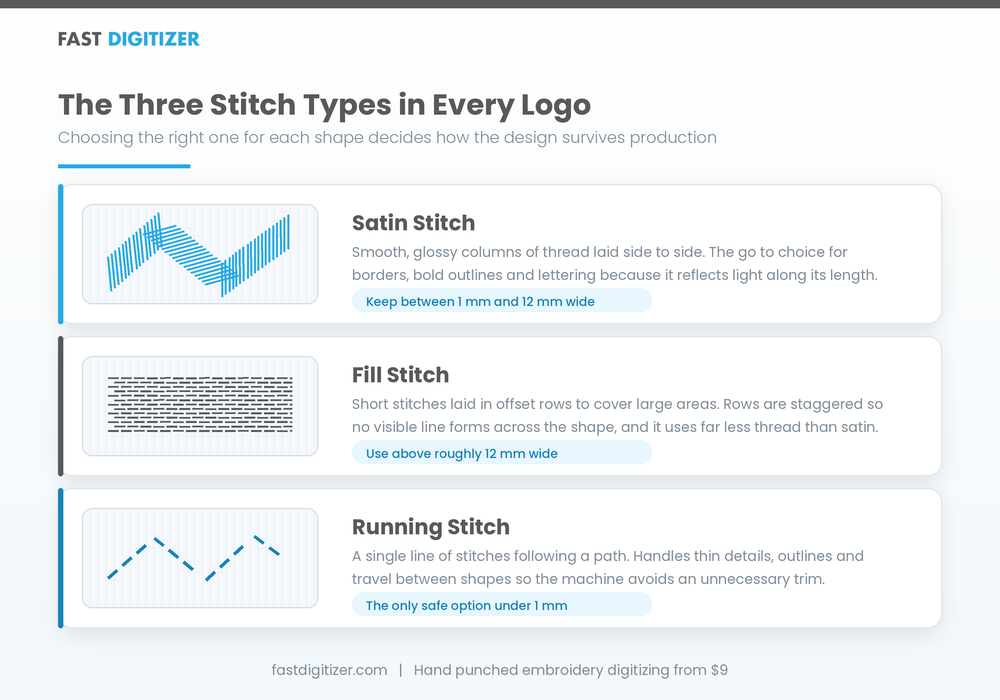
Most logos use three stitch types. Satin creates smooth, glossy borders and bold shapes, fill covers large areas, and running stitches handle thin lines, outlines, and travel between elements.
Keep satin columns above roughly 1 mm wide. Below that, the needle penetrations sit so close together that the thread cuts the fabric rather than covering it. Above about 12 mm, satin stitches become long and loose, so a fill stitch usually performs better.
Step 4: Digitize the lettering
Text breaks more logos than any other element, because letters that look crisp on screen close into solid blobs once thread thickness enters the equation.
Therefore most digitizers treat about 5 mm, roughly 0.2 inches, as the minimum height for standard block lettering. Below that, counters such as the hole in a lowercase e fill in. Script fonts and thin serifs need even more, since their strokes are narrower than their cap height suggests.
Additionally, a built in embroidery font often beats a hand traced copy of the original typeface, since embroidery fonts are already engineered for thread.
Step 5: Sequence the stitch order and clean up trims
Now think like the machine. Every colour change stops production, and every jump stitch creates a thread your operator must trim by hand.
Group shapes of the same colour together where the design allows, then order elements so the machine travels short distances instead of crossing the design repeatedly. Where two shapes sit close, a connecting run stitch hidden under a later element beats a trim and restart.
Step 6: Test sew and refine
Finally, stitch the design on the actual fabric, with the same backing and hooping you will use in production. Then inspect it closely. Look for puckering, gaps where shapes should meet, letters that have closed up, and registration drift. Adjust density, underlay, or pull compensation, then stitch again. Two or three iterations are normal.
Size Rules That Matter When You Digitize a Logo for Embroidery
Three numbers do most of the work when you digitize a logo for embroidery. Satin columns should stay above roughly 1 mm wide, block lettering above roughly 5 mm tall, and details narrower than 1 mm generally need removing or converting to a running stitch outline.
Gaps also need attention. Because fabric pulls inward as stitches tighten, two elements drawn exactly touching often show a visible gap afterwards. Overlapping them by around 0.2 mm closes it.
Free Tools or Paid Software to Digitize a Logo for Embroidery
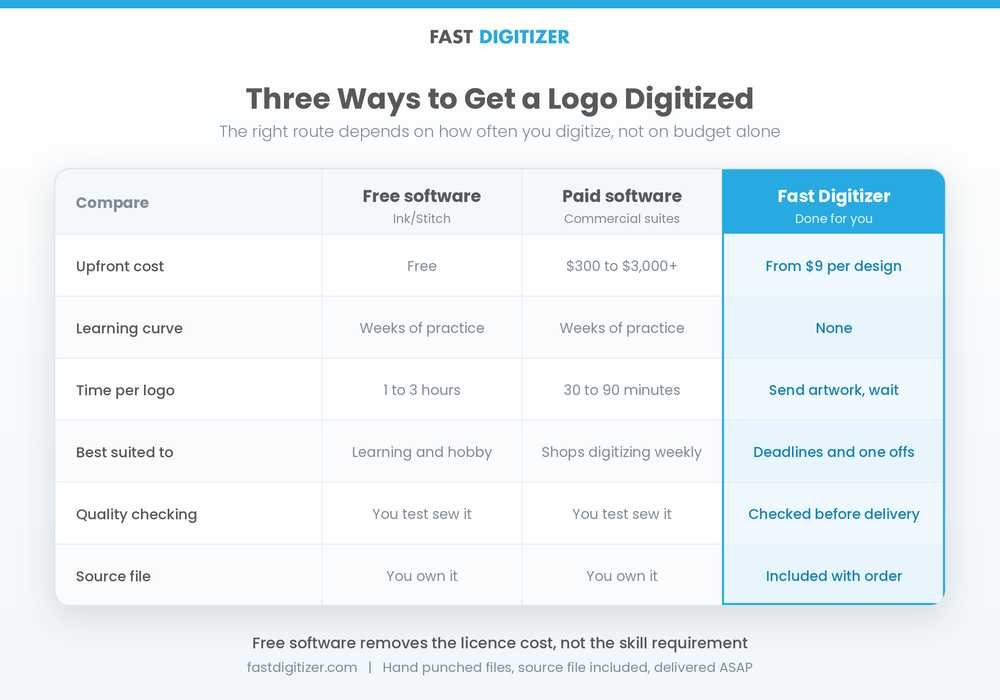
Three routes exist, and the right one depends on volume rather than budget. Free tools suit learning and occasional projects, paid software suits shops digitizing regularly in house, and a professional service suits anyone whose time is worth more than the file.
Ink/Stitch is the best known free option. Because it runs as an extension inside Inkscape, you install Inkscape first and add Ink/Stitch on top. Version 3.3.0 arrived on 31 July 2026, adding a cross stitch type with a setup assistant, new and updated lettering fonts, and a simpler way to build even width satin columns directly from strokes.
Paid commercial packages add fabric presets, automatic pull compensation, and stitch simulation. They cost several hundred to a few thousand dollars, which makes sense once you digitize weekly. However, free software removes the licence cost, not the skill requirement.
How Much Does It Cost to Digitize a Logo for Embroidery?
Paying someone to digitize a logo for embroidery typically costs between $10 and $40 in the United States. Left chest designs usually sit at the lower end, while jacket backs, appliqué, and 3D puff cost more because they need extra construction. Some providers price per thousand stitches instead of per design.
At Fast Digitizer, cap and left chest files start at $9, and the quote is fixed before work begins rather than calculated from the stitch count. Every order includes the source file, so future resizes stay possible.
One point worth weighing: a cheap file is not a saving if it fails. Thread breaks, re-hooping, and ruined blanks cost far more per hour than the gap between a $9 file and a $40 one.
Common Mistakes When You Digitize a Logo for Embroidery
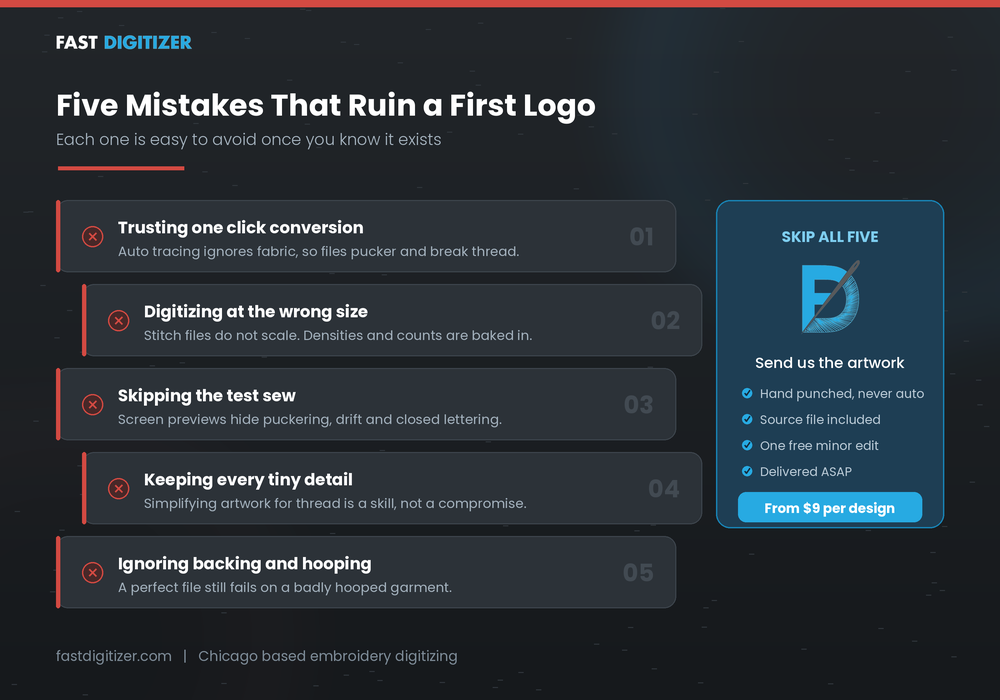
Most failed attempts to digitize a logo for embroidery trace back to the same few errors.
- Trusting auto conversion. One click converters ignore fabric, so files pucker and break thread on real garments.
- Digitizing at the wrong size. Stitch files do not scale like vectors, since stitch counts and densities are baked in.
- Skipping the test sew. Screen previews hide puckering, registration drift, and closed lettering completely.
- Keeping every detail. Simplifying a logo for thread is a skill, not a compromise.
- Ignoring backing and hooping. Even a perfect file fails on a badly hooped garment.
FAQs About How to Digitize a Logo for Embroidery
How do I turn my logo into an embroidery file?
Open the logo in digitizing software, set the finished size and fabric, assign stitch types to each shape, digitize the lettering, sequence the stitch order, then export in your machine format such as DST or PES. Finally, always test sew first.
How can I digitize an image for embroidery?
The process is the same, although photographs need far more simplification. Reduce the image to a few flat colour areas first, because thread cannot reproduce gradients the way a printer can.
Can I digitize a logo for embroidery for free?
Yes. Ink/Stitch is free, open source, and capable of professional results once you learn it. The cost simply moves from money to time, so free software makes most sense for occasional or personal projects rather than deadline driven commercial work.
Can I digitize a logo online without installing software?
Browser based converters exist, yet they auto trace rather than digitize properly. They may suit a simple two colour shape on stable fabric, but for lettering, fine detail, or stretchy material the results are usually poor.
How long does it take to learn how to digitize a logo for embroidery?
Most people produce a usable simple design within a few weeks of regular practice. However, reaching consistent commercial quality across caps, knits, and small lettering usually takes several months.
Which embroidery file format do I need?
Check your machine manual. DST is the most widely accepted commercial format, PES suits many Brother and Babylock machines, JEF suits Janome, and VP3 suits Husqvarna Viking. Always keep the native source file too, since a stitch file cannot be resized meaningfully without it.
Putting It Into Practice
Knowing how to digitize a logo for embroidery gives you control over quality, turnaround, and cost. Start with a simple two colour logo on stable fabric, work through the six steps, and test sew every version. Two numbers alone, the 1 mm satin minimum and the 5 mm lettering minimum, prevent most early failures.
That said, learning how to digitize a logo for embroidery and needing a file today are different problems. If a customer deadline is on the line, sending the artwork to a digitizer is usually cheaper. Either way, understanding the process makes you better at judging the files you receive.