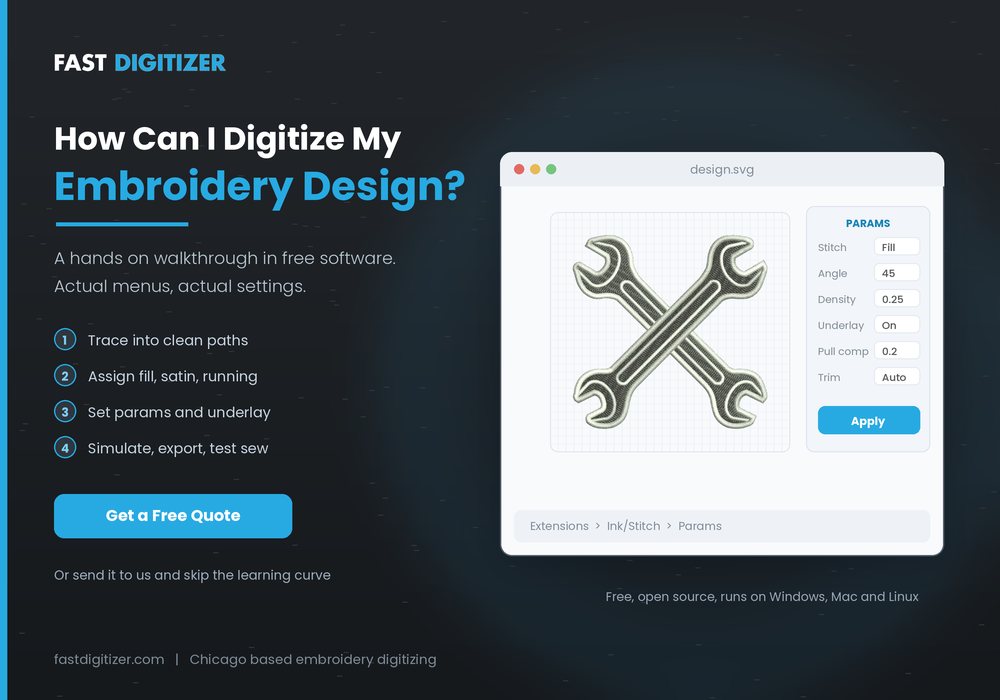
If you want to digitize my embroidery design is the phrase you typed, you are almost certainly holding artwork and wondering whether you can do this yourself rather than paying someone. You can, and this guide walks through the actual clicks in free software rather than describing the process from a distance. Set aside an afternoon, pick a simple two colour design, and work along with it.
What You Need Before You Digitize Your Embroidery Design
To digitize my embroidery design you need four things, and only one of them costs money.
- Inkscape plus Ink/Stitch. Both free and open source. Ink/Stitch runs as an extension inside Inkscape, so install Inkscape first, then add Ink/Stitch on top.
- Artwork with clear shapes. Vector formats work best. A sharp PNG is fine provided the edges read cleanly.
- Your finished size in inches. Decide this before touching the software, because everything downstream depends on it.
- Scrap fabric and stabiliser. Ideally the same material as your final garment.
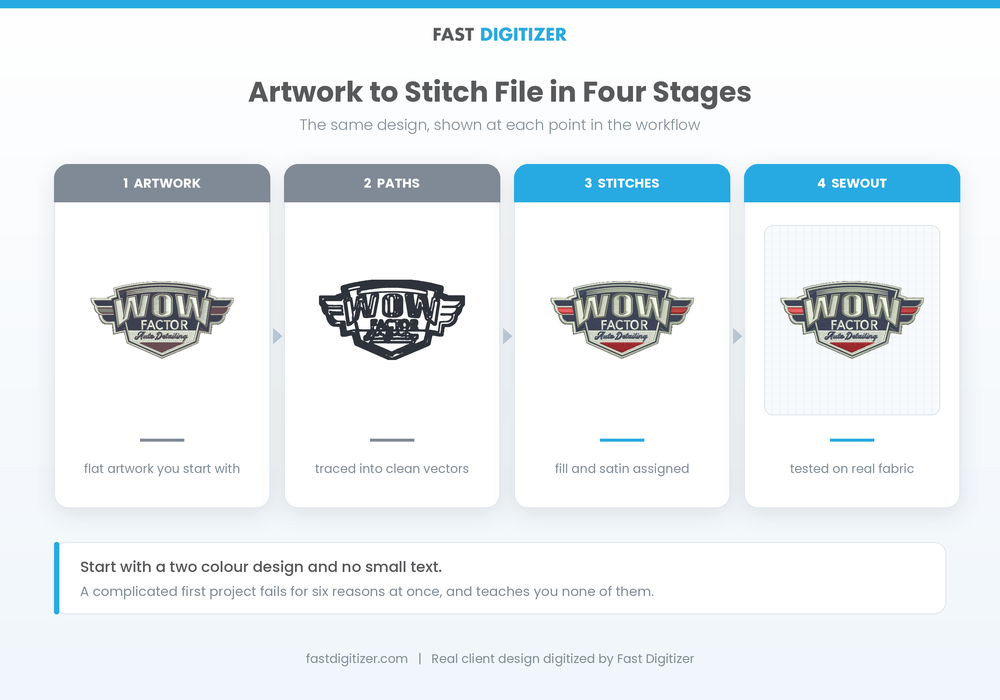
Above all, start with something simple. A two colour design with bold shapes and no small text teaches you far more than a complicated logo that fails for six different reasons at once.
Step 1: Prepare the Artwork for Your Embroidery Design
First, open Inkscape and use File, then Import to bring in your image. Place it on the canvas, then set the design to its real finished size rather than whatever the image happens to be.
Next, trace it into paths. Path, then Trace Bitmap converts the image into vector shapes automatically, which works well on flat artwork. Alternatively press B for the Bezier tool and draw the shapes yourself, which takes longer but gives far cleaner results.
Afterwards, delete the original image. Ink/Stitch only reads paths, so the picture underneath serves no purpose and simply gets in the way.
Step 2: Decide How to Digitize Each Shape
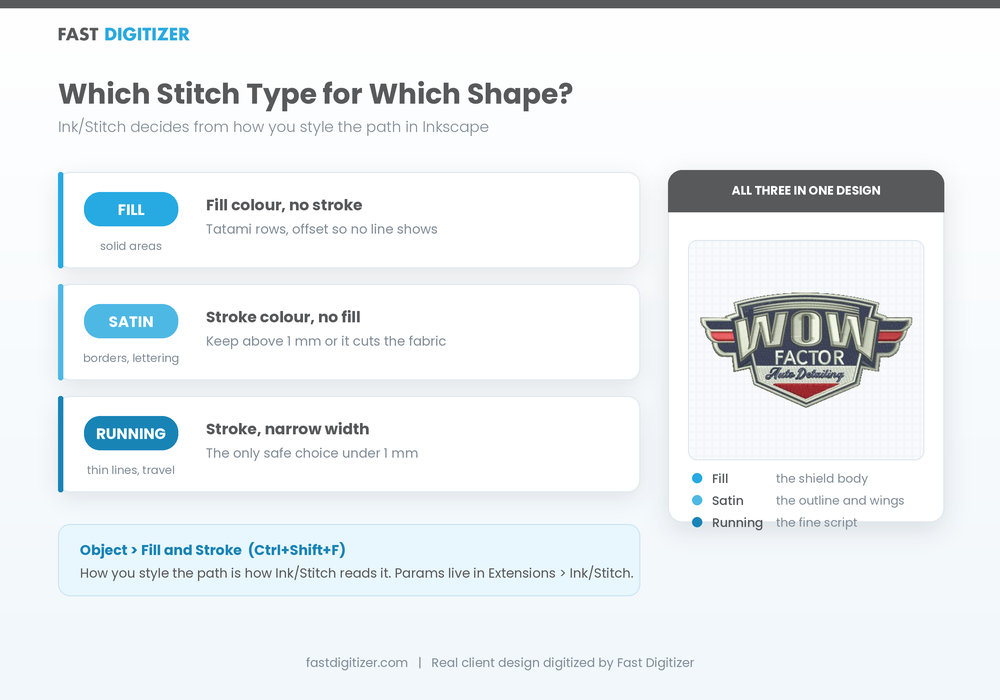
This is where you actually digitize my embroidery design, and Ink/Stitch decides based on how the path is styled. Open Object, then Fill and Stroke, or press Ctrl and Shift and F together.
When you digitize my embroidery design in Ink/Stitch, three stitch families cover almost everything.
Fill stitch covers solid areas. Give the path a fill colour and no stroke. Ink/Stitch renders it as a tatami pattern, with rows offset so no visible line forms across the shape.
Running and zigzag stitch handle thin lines. Give the path a stroke colour and no fill. For zigzag, keep the stroke width at 0.6 mm or above, otherwise the result looks ragged.
Satin columns create borders and lettering. The simplest route is to add a stroke colour to a path with no fill and let Ink/Stitch render the stroke directly as a satin, which produces an even width column. For columns that change width, draw two paths and combine them with Path, then Combine, or press Ctrl and K.
Similarly, satin below roughly 1 mm wide produces poor results, so widen anything thinner or convert it to a running stitch instead.
Step 3: Set the Parameters for Your Embroidery Design
Next, select your objects and open Extensions, Ink/Stitch, and Params. This dialog controls how Ink/Stitch generates the actual stitches, and the simulator runs alongside it so you see changes as you make them.
Above all, two settings matter more than the rest. Density controls how tightly stitches pack, and it should suit the fabric rather than stay on a default. Underlay is the hidden foundation layer stitched before the visible work, and skipping it is the single most common reason home attempts pucker.
However, do not rush this part. Adjusting values and watching the simulator respond teaches you more about digitizing than any amount of reading.
Step 4: Fix the Satin Columns
Notably, satin columns cause more beginner frustration than everything else combined, and the reason is that Ink/Stitch needs to understand which point on one rail pairs with which point on the other.
Specifically, when a column curves sharply the automatic pairing goes wrong and stitches fan out in odd directions. The fix is a rung, a short line drawn across the column telling Ink/Stitch exactly where a stitch should run.
Therefore add a rung: select the satin column with the Node Editor, press P for the Pencil tool, hold Shift, then click once at the start of the rung and once at the end. Use at least three rungs per column, since fewer causes its own problems.
Step 5: Order the Stitches
Now think like the machine rather than like a designer. Every colour change stops production, and every jump stitch leaves a thread your operator has to trim.
First, group objects of the same colour together so the machine finishes one thread before moving to the next. Then order elements so it travels short distances rather than crossing the design repeatedly. Where two shapes sit close together, a connecting run stitch hidden under a later element beats a trim and restart.
Overall, stitch order affects quality more than beginners expect. Background elements go first, then mid-ground, then top detail, so later stitches sit cleanly over earlier ones.
Step 6: Simulate the Embroidery Design Before Export
Open Extensions, Ink/Stitch, then Simulator. With nothing selected it runs the whole design, or select specific objects to check just those.
Meanwhile, watch for stitches heading in strange directions, gaps where shapes should meet, and areas so dense the fabric would clearly suffer. The simulator will not show puckering, although it catches most sequencing and direction problems before they cost you fabric.
Step 7: Export the Embroidery Design and Test Sew
To export the finished embroidery design, use File, then Save a copy, and choose the format your machine reads. DST works on most commercial machines, while PES suits many Brother models, JEF suits Janome and VP3 suits Husqvarna Viking.
In addition, save the SVG version as well. That file is your editable source, and without it any future change means rebuilding the design from scratch.
Finally, stitch it out. Use the same fabric and the same stabiliser you plan to use for the real thing, because a design that behaves on canvas can pucker badly on performance knit. Inspect the sewout for puckering, gaps, closed lettering and registration drift, then go back and adjust.
Two or three rounds of this are completely normal, even for experienced digitizers.
Mistakes to Avoid When You Digitize Your Embroidery Design
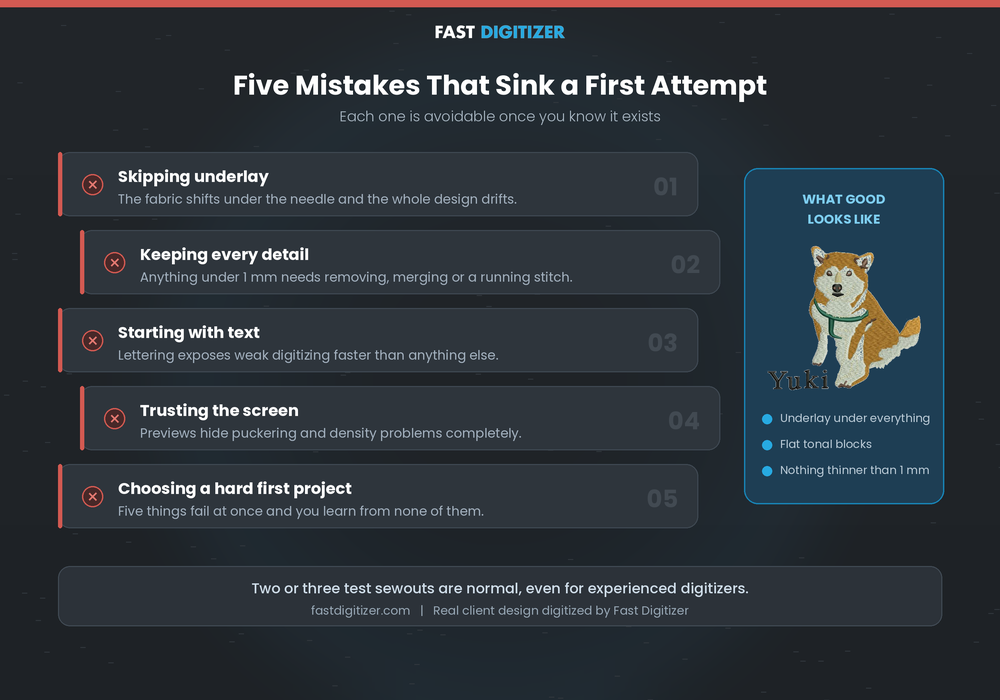
Five errors account for most failed attempts to digitize my embroidery design, and each one is avoidable.
- Skipping underlay. Without a foundation layer the fabric shifts under the needle and the whole design drifts.
- Keeping every detail. Simplification is the craft. Anything under roughly 1 mm needs removing, merging or converting to a running stitch.
- Starting with text. Lettering exposes weak digitizing faster than anything else, so leave it until you have mastered shapes.
- Trusting the screen. Previews hide puckering and density problems entirely.
- Choosing a complicated first project. When five things go wrong at once, you learn nothing from any of them.
When Not to Digitize Your Embroidery Design Yourself
Learning to digitize your own embroidery design is genuinely worthwhile, yet three situations make outsourcing the better call.
A customer deadline is on the line. Learning under time pressure produces bad files and stressful weeks, which is exactly when professional embroidery digitizing services earn their fee.
The design is complicated. Photo realistic work, appliqué, 3D puff and detailed illustrations sit well beyond a first project.
The maths does not work. At two designs a month, outsourcing costs roughly $240 a year and none of your time. At twenty a month, learning it yourself starts making obvious sense. Our guide to custom embroidery digitizing services breaks down what shapes that cost.
FAQs About Digitizing Your Own Embroidery Designs
How do I digitize my own embroidery designs?
Install Inkscape with the Ink/Stitch extension, import your artwork and trace it into paths, assign fill stitches to solid areas and satin columns to borders, set parameters and underlay through the Params dialog, order the stitches, then export in your machine format. Always test sew before production.
How much does it cost to get something digitized for embroidery?
Most standard logos cost between $10 and $40 in the United States, with left chest designs at the lower end. Jacket backs, appliqué, patches and photo work cost more. Doing it yourself replaces that fee with software cost plus several weeks of learning time.
What software can I use to digitize my embroidery designs?
Ink/Stitch is free and open source, running inside Inkscape on Windows, Mac and Linux. SewArt sits around $75 with a demo version. Hatch by Wilcom, Brother PE-Design and Wilcom EmbroideryStudio cover commercial work, and several offer trials so you can compare before buying. For more on digitizing images for embroidery, see our full breakdown.
Can I digitize my embroidery logo?
Yes, although a logo is harder than a simple shape because it usually contains text and fine detail. Start with the bold elements, leave the lettering until last, and expect several test sewouts. Our step by step guide on how to digitize a logo for embroidery covers the logo specific decisions.
How long does it take to learn?
Most people produce a usable simple design within a few weeks of regular practice. Reaching consistent commercial quality across caps, knits and small lettering generally takes several months, because each fabric brings its own behaviour.
Does Ink/Stitch work on Mac?
Yes. Inkscape and Ink/Stitch both run on Windows, Mac and Linux, which matters because most embroidery software is Windows only. That alone makes it worth trying for Mac users before spending on anything else.
Why does my design pucker even though it looks fine on screen?
Almost always underlay, density or stabiliser. Screen previews show stitch paths rather than fabric behaviour, so puckering only appears once thread tightens against real material. Add underlay, reduce density, and switch to a cutaway stabiliser on knits.
Your First Embroidery Design
Pick something simple, work through the seven steps above to digitize your embroidery design, and accept that the first sewout will teach you more than the first six hours in the software. Learning to digitize my embroidery design is a real skill rather than a shortcut, and it rewards patience far more than budget. Either way, understanding the process makes you better at judging every file you receive from now on.