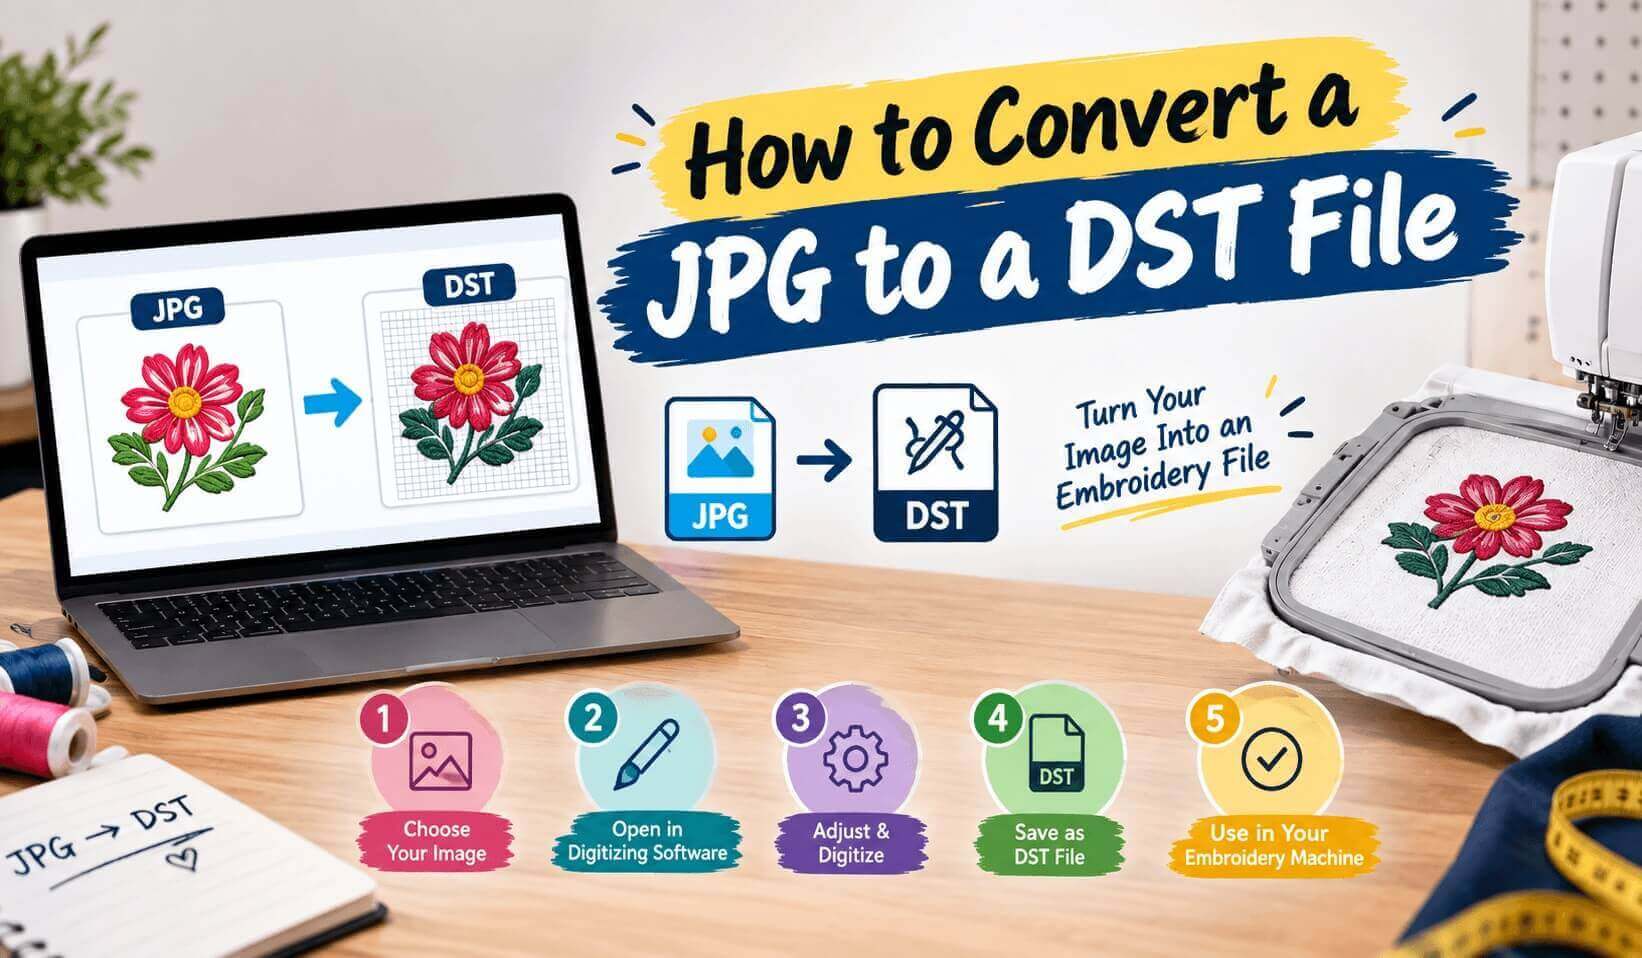
If you have ever tried to send a logo straight to an embroidery machine, you already know what happened: nothing. The machine either refused the file or stitched something unrecognisable.
That is not a bug. A JPG and a DST are two completely different kinds of file, and converting one into the other is not really a conversion at all. This guide explains what is actually happening, the four ways people try to do it, and which one gives you a file you can run on a production machine without ruining a garment.
Why a JPG cannot simply become a DST
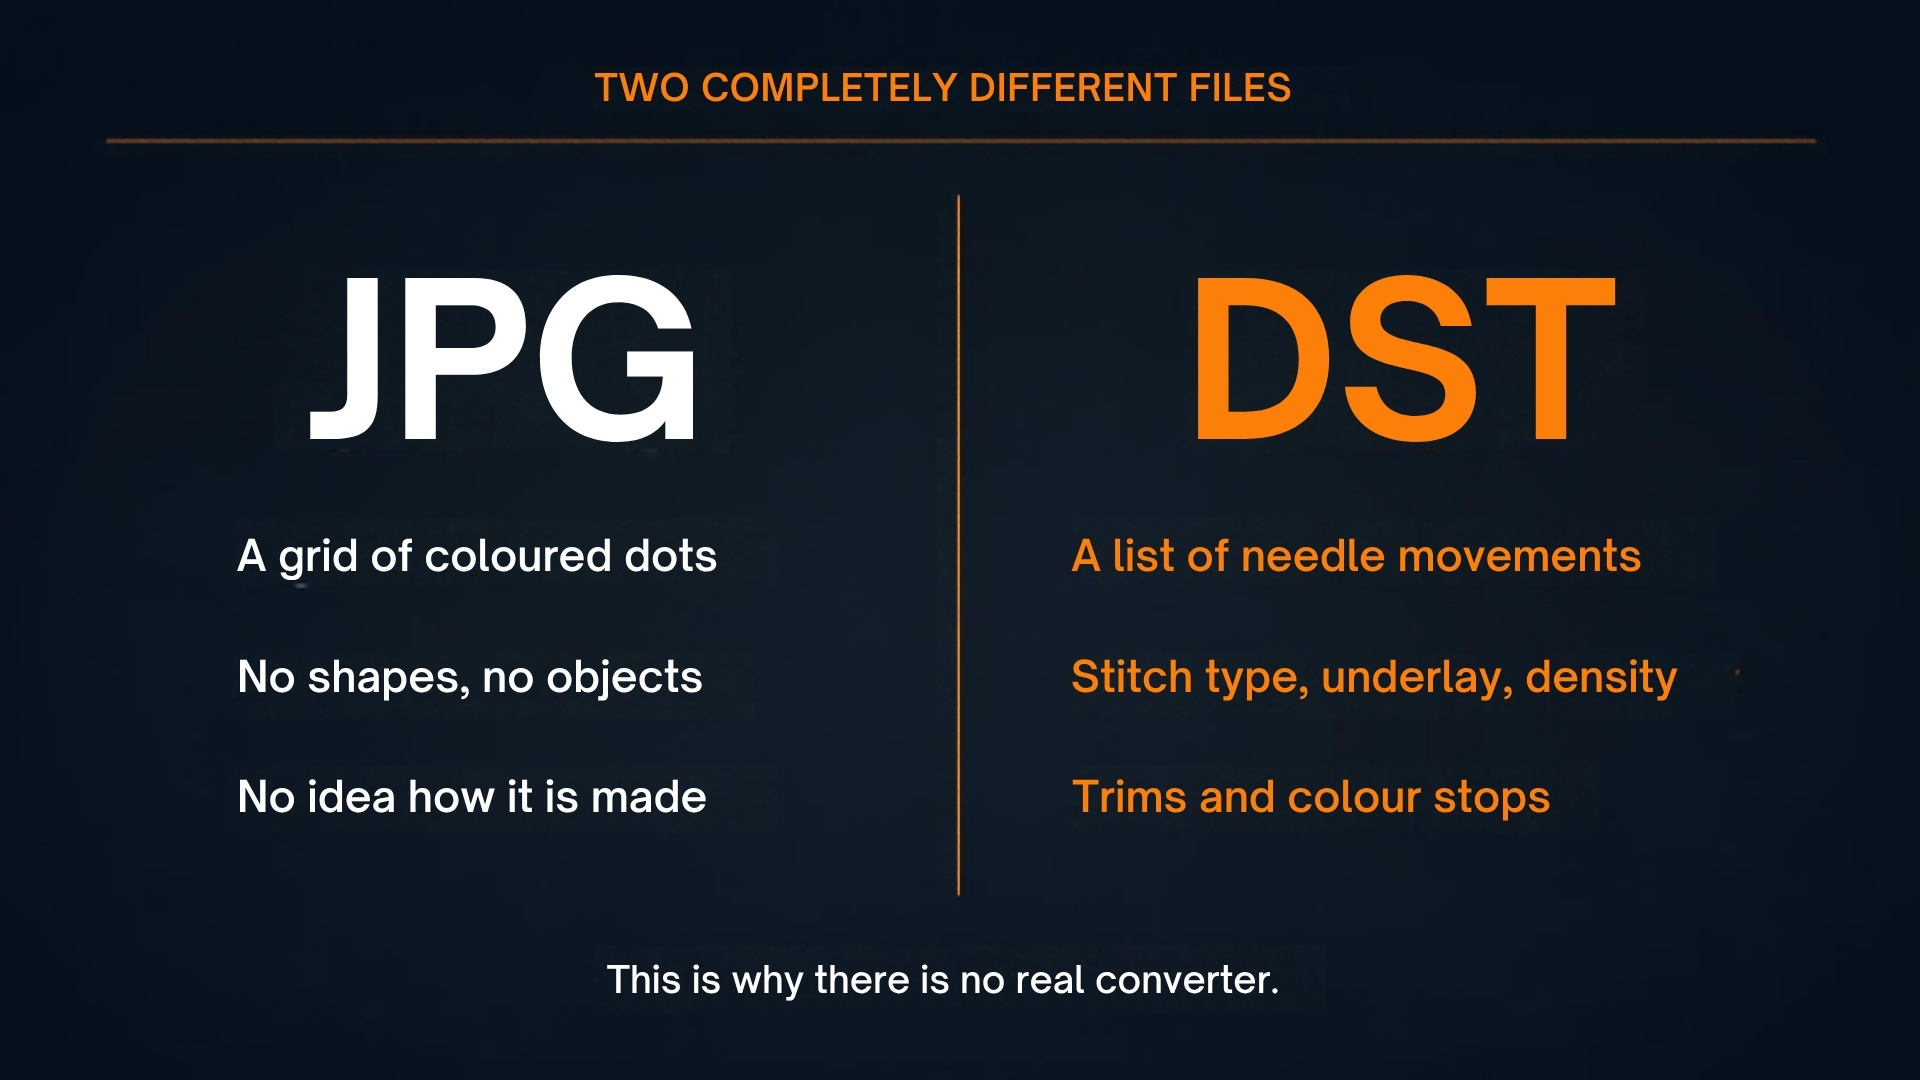
A JPG is a picture. It is a grid of coloured dots, and that is all the information it contains. Nothing in it describes how an object should be made.
A DST is a set of instructions. Tajima’s DST format does not store colours or shapes at all — it stores a long list of needle movements: move here, stitch, move there, jump, trim, stop for a colour change. The machine follows that list blindly.
So converting a JPG to a DST is not like converting a Word file to a PDF. It is closer to handing a photograph of a jumper to a knitter and asking for the pattern. Someone has to work out the pattern. That work is called digitizing, and it is a skilled job, not a file operation.
What the digitizer is actually deciding
This is the part that explains why two DST files made from the same logo can stitch completely differently. Whoever digitises the file has to make a long series of decisions that are nowhere in your JPG:
- Stitch type for every shape. Satin for borders and text, fill for large areas, running stitch for fine detail. Pick wrong and the design puckers or looks flat.
- Underlay. A hidden layer of stitches that stabilises the fabric before the visible stitches land on it. Skipping underlay is the single most common reason a design looks sunken or ragged.
- Pull compensation. Thread pulls fabric inward as it stitches, so shapes have to be drawn slightly wider than they should appear. How much depends on the fabric.
- Stitch direction and sequence. The order shapes are stitched in decides how much the fabric shifts, and whether the registration still lines up at the end.
- Density. Too loose and the fabric shows through; too dense and you get thread breaks, needle breaks and a stiff patch that feels like cardboard.
- Trims and colour stops. Where the machine cuts thread and where the operator changes cones.
Every one of those depends on what the design is going onto. A logo for a piqué polo is not digitized the same way as the same logo for a fleece jacket or a structured cap. This is why “one file for everything” rarely works.
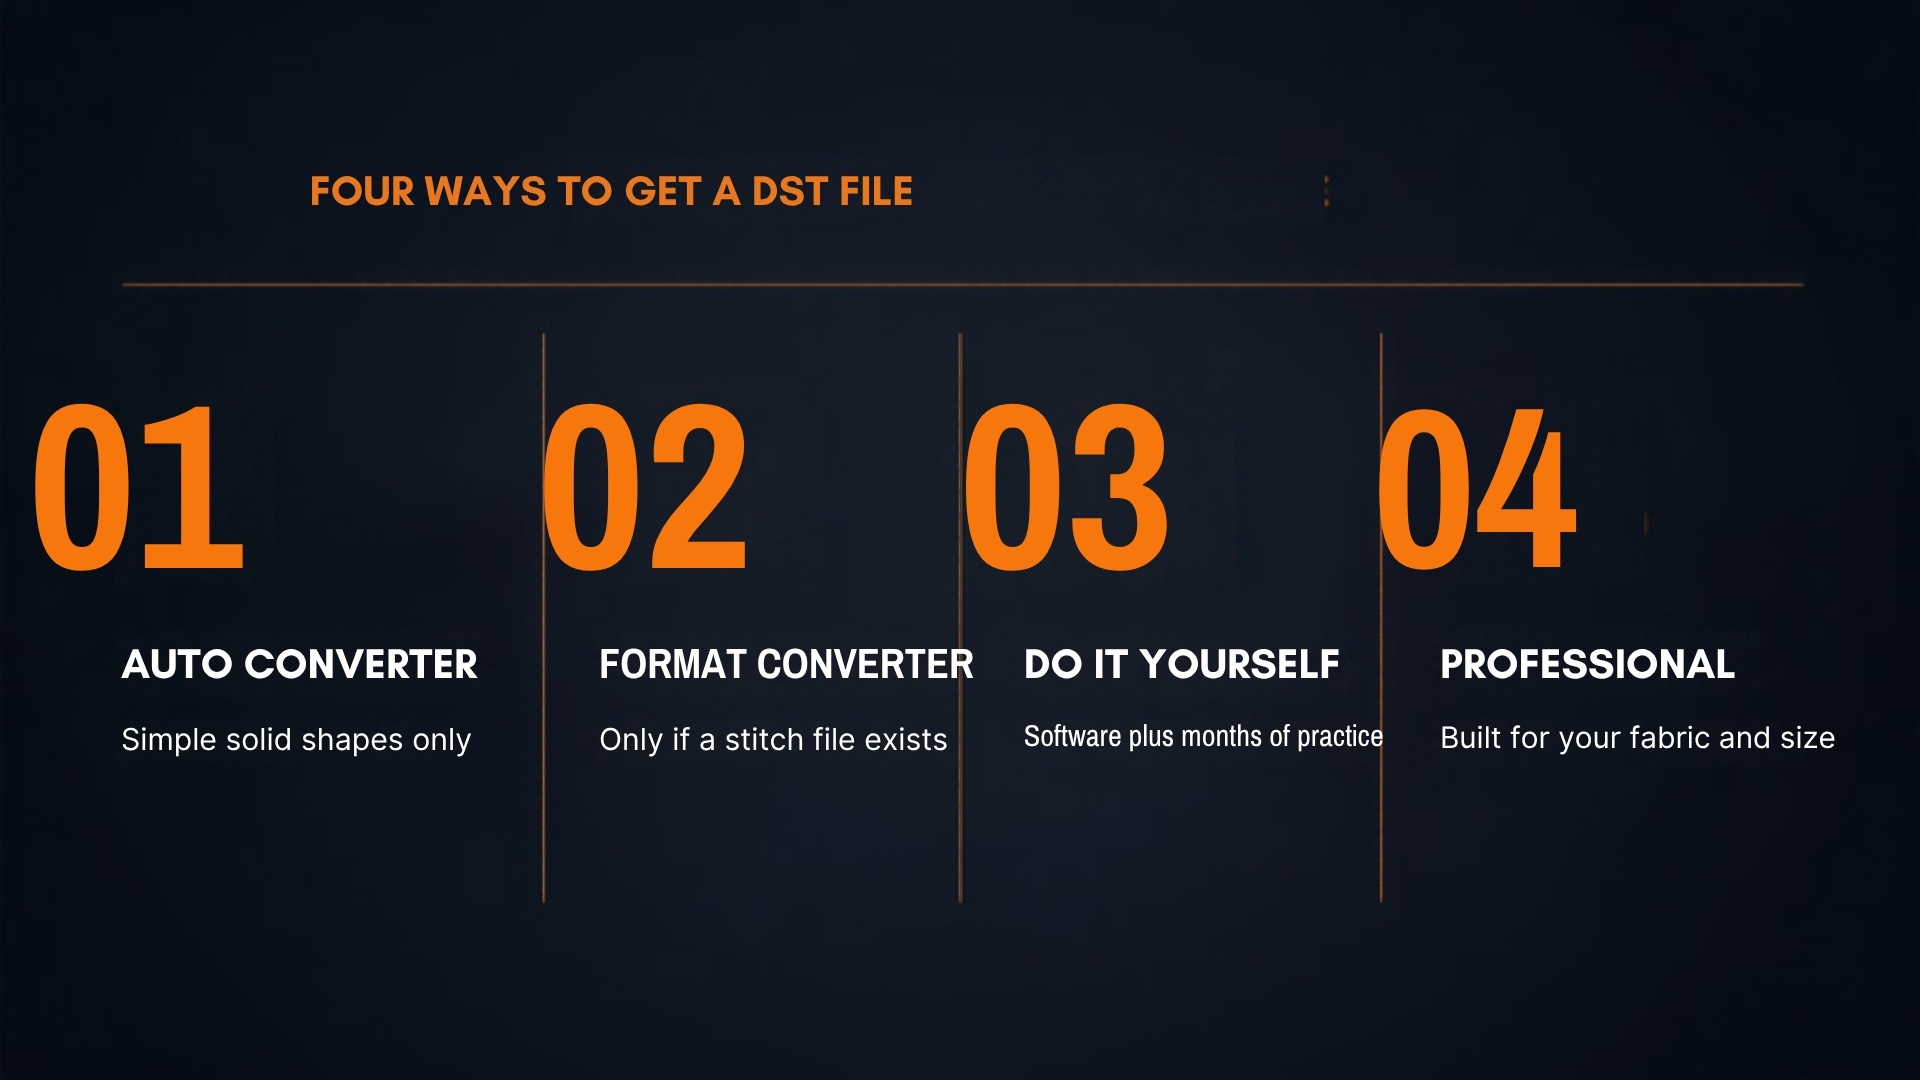
The four ways people convert a JPG to a DST
1. Online auto-converters
You upload a JPG, a tool traces it and spits out a DST in seconds. Free or very cheap.
It works for exactly one case: a simple, solid-colour shape with no small text, no gradients and no fine detail, stitching onto flat, stable fabric. Anything else and the auto-trace produces thousands of unnecessary stitches, no proper underlay, and no understanding of how the fabric will behave.
The usual result is a file that opens correctly and stitches badly. Puckered edges, text that fills in, thread breaks mid-run. If you are testing an idea on a scrap, fine. For a customer order, this is where garments get ruined.
2. Doing it yourself in digitizing software
Real digitizing software gives you manual control over every element listed above. The main options:
| Software | Who it suits | The catch |
|---|---|---|
| Ink/Stitch | Hobbyists and anyone who wants to learn without paying. Free and open source, runs on top of Inkscape. | Steep learning curve and a workflow built around vector drawing. Capable, but it will not teach you stitch theory. |
| Embrilliance | Home and small-shop users. Modular, so you buy only the parts you need, and it runs on Mac as well as Windows. | Full manual digitizing sits in the paid modules, not the base. |
| Hatch | Small businesses wanting commercial-grade output without the full professional price. | Still a serious investment, and still a skill you have to build. |
| Wilcom | Professional and production digitizers. The industry standard in commercial embroidery. | Expensive, and overkill unless digitizing is your job. |
The honest warning: the software is the cheap part. Becoming good enough that your files stitch cleanly on different fabrics takes months of practice and a lot of ruined test pieces. If you digitise one logo a week, that investment will never pay for itself.
3. Converting an existing stitch file
This one genuinely is a conversion. If you already have the design as a PES, EXP, JEF, VP3 or another stitch format, converting it to DST is simple, because the stitch data already exists. Most embroidery software and plenty of free converters will do it.
Two things to know. First, DST stores no colour information, so your thread colours will not travel with the file — you will need a separate colour sequence. Second, converting does not improve a bad file. If the original was badly digitized, the DST will be badly digitized too.
4. Having it digitized professionally
You send the artwork, a digitizer builds the file by hand for your specific garment, fabric and placement, and you get back a DST that has been checked and usually stitched out before delivery.
This is what commercial shops do, and the reason is simple economics: the cost of one digitized file is less than the cost of one ruined jacket. For anything with small text, gradients, caps, 3D puff or a logo you will run hundreds of times, this is the only route that reliably works.
If you want to see what that looks like in practice, our embroidery digitizing services page covers the formats and placements we handle, and our portfolio shows finished stitch-outs rather than screen previews.
Which method to use, by situation
| Your situation | Best route | Why |
|---|---|---|
| Simple solid shape, flat fabric, one-off test | Auto-converter | Low stakes, and the design has no detail to lose |
| You already have a PES, EXP or JEF file | Format converter | The stitch data exists — this is a real conversion |
| You digitise several designs a week | Buy software and learn it | The volume justifies the time investment |
| Logo with small text or gradients | Professional digitizing | Auto-trace cannot handle text under about 5mm |
| Caps, 3D puff, fleece or performance fabric | Professional digitizing | Each needs different underlay, density and sequencing |
| A customer order you cannot afford to redo | Professional digitizing | One ruined garment costs more than the file |
How to prepare artwork before you send it
Whichever route you choose, the quality of what you send decides half the outcome. Five things make a measurable difference:
Send the highest resolution you have. A 300 dpi image, or better, the original vector file. A logo pulled off a website at 72 dpi forces whoever digitises it to guess at the edges.
Send vector if it exists. AI, EPS, PDF or SVG. Vector art has clean mathematical edges, which removes an entire category of guesswork. If you only have a JPG, vector tracing is usually worth doing first, and it gives you a file you can use for print as well.
State the finished size in millimetres or inches. This is the single most important instruction you can give. The same logo at 50 mm and at 250 mm needs to be digitized differently — the small one may need text simplified or dropped entirely.
Name the garment and fabric. Piqué polo, fleece, structured cap, performance knit, towel. Each behaves differently under the needle, and the digitizer builds the underlay around it.
Give the thread colours or a brand code. Madeira, Isacord, Robison-Anton. Because DST carries no colour data, the colour sequence has to be supplied separately anyway.
What the finished DST should come with
A properly delivered file is more than just the DST. You should expect:
- The DST itself, plus any other machine format you asked for
- A colour sequence listing each stop in order
- Stitch count and finished dimensions
- A stitch-out photo or a realistic simulation, not just a flat screen preview
If a supplier cannot give you a stitch count and finished size, they have not checked the file properly.
Common mistakes that waste the most money
Judging the file on screen. Software previews flatter a design. The only real test is a stitch-out on the actual fabric, or at least on something similar.
Scaling the DST afterwards. A DST holds fixed stitch points. Resize it more than about 10 to 20% and the density goes wrong — too sparse when enlarged, too dense when shrunk, and dense enough to break needles at the extreme. Different sizes need separate files.
Using one file for every garment. A design that runs beautifully on a polo can pucker badly on fleece and sit crooked on a cap. High-volume shops keep separate versions.
Keeping text too small. Below roughly 5 mm cap height, letters start to close up and fill in. Either simplify the text, increase the size, or accept that some detail has to go.
Assuming more stitches means better quality. Excessive density is the main cause of thread breaks, puckering and that stiff, plastic feel. A good file uses fewer stitches, not more.
Frequently asked questions
Can I convert a JPG to a DST for free?
Technically yes, with an online auto-converter or with Ink/Stitch. Whether the result is usable depends entirely on the design. A plain solid shape, often. A logo with text or gradients, almost never.
What is the difference between DST and PES?
DST is Tajima’s format, used on most commercial machines, and it stores no colour information. PES is Brother’s format, common on home machines, and it does store colours. The underlying stitch data is the same kind of thing — they are different containers.
Why does my converted design look nothing like the logo?
Almost always because an auto-trace guessed at shapes that needed to be built deliberately: small text closed up, gradients became blocks, and there was no underlay to hold the fabric flat.
How long does professional digitizing take?
A straightforward left-chest logo is usually a same-day job. Complex designs, jacket backs and anything with heavy detail take longer, because the file has to be stitched out and corrected rather than just delivered.
Do I need a separate file for caps?
Yes. Caps are stitched from the centre outward on a curved, unstable surface, so the sequencing and underlay are different from flat garments. A flat file run on a cap typically shifts out of registration.
Can I edit a DST file later?
Only at the stitch level, which is awkward. Proper edits are made in the original working file, which is why it is worth asking your digitizer to keep the source and quoting from that for future changes. Our pricing page explains how edits are handled.
The short version
There is no real “JPG to DST converter”, because the two files describe different things. What exists is digitizing: someone deciding how a picture should be built out of thread on a specific fabric at a specific size.
Automate that decision and you get a file that looks right on screen and fails on the machine. Make the decision properly and you get a file that runs clean for years.
If you have artwork that needs converting, you can send it to us and we will come back with the finished file, the colour sequence and the stitch count.