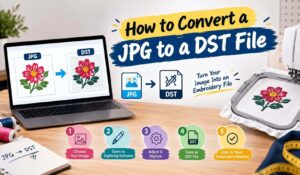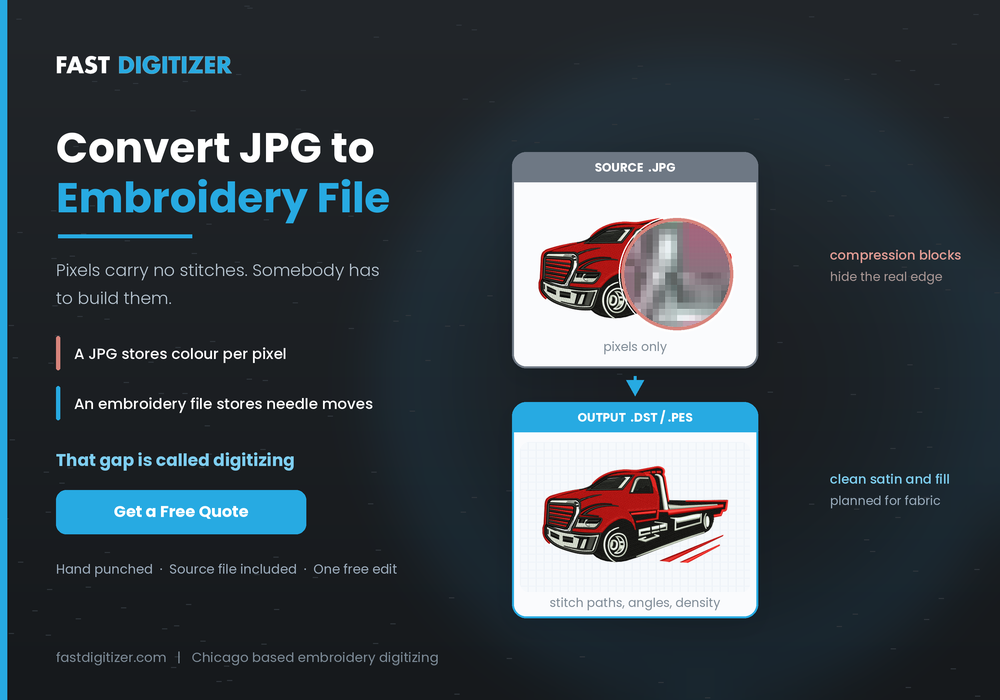
People search for a way to convert JPG to embroidery file every day, and almost every result promises a one click answer. The uncomfortable truth is that no such conversion exists. A JPG holds pixels, an embroidery file holds stitch instructions, and nothing automatic bridges that gap reliably. What actually happens is digitizing, and understanding the difference decides whether your design sews cleanly or shreds fabric.
What It Really Means to Convert JPG to Embroidery File
When you convert JPG to embroidery file, two incompatible things meet. A JPG describes colour values for a grid of pixels. An embroidery file describes needle movements: where to enter the fabric, at what angle, how densely, in what order, and when to change thread. These two things share no common language, translation is simply not a file operation.
Instead, digitizing rebuilds the artwork shape by shape. Someone decides that the outline becomes a satin column, the body becomes a fill at a set angle, and the thin highlight becomes a running stitch. Similarly, they decide what to remove, because thread has a physical minimum width that pixels do not.
Why JPG Is the Hardest File to Convert to an Embroidery File
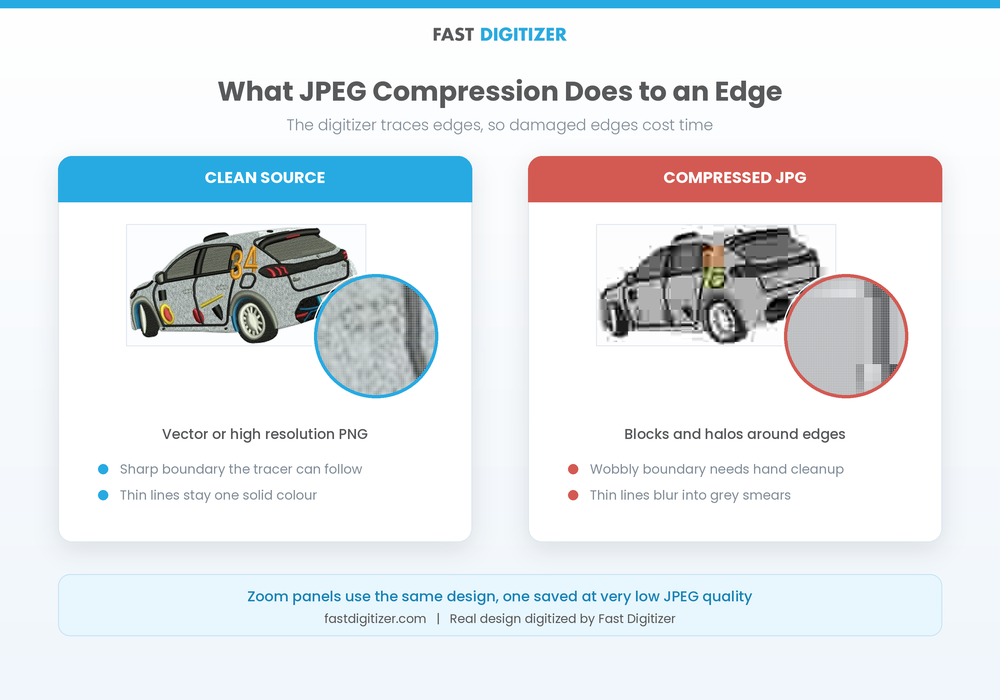
Among common image formats, JPG makes it measurably harder to convert JPG to embroidery file cleanly, and the reason is compression. JPEG throws away data permanently to shrink file size. Around high contrast edges it leaves faint halos and blocky squares that were never part of your artwork.
However, those artifacts matter because edges are exactly what a digitizer traces. Naturally, a clean vector edge produces a clean satin column, whereas a compressed edge produces a wobbly boundary that either gets smoothed by hand or turns into visible waviness in the finished stitching.
Above all, thin lines suffer most. A one pixel outline in the original artwork often survives compression as a blurred grey smear, so the digitizer has to guess where the line truly sat. Small text degrades the same way, which is why logos with taglines cause the most rework.
Auto-Trace and Manual Digitizing Are Not the Same Thing
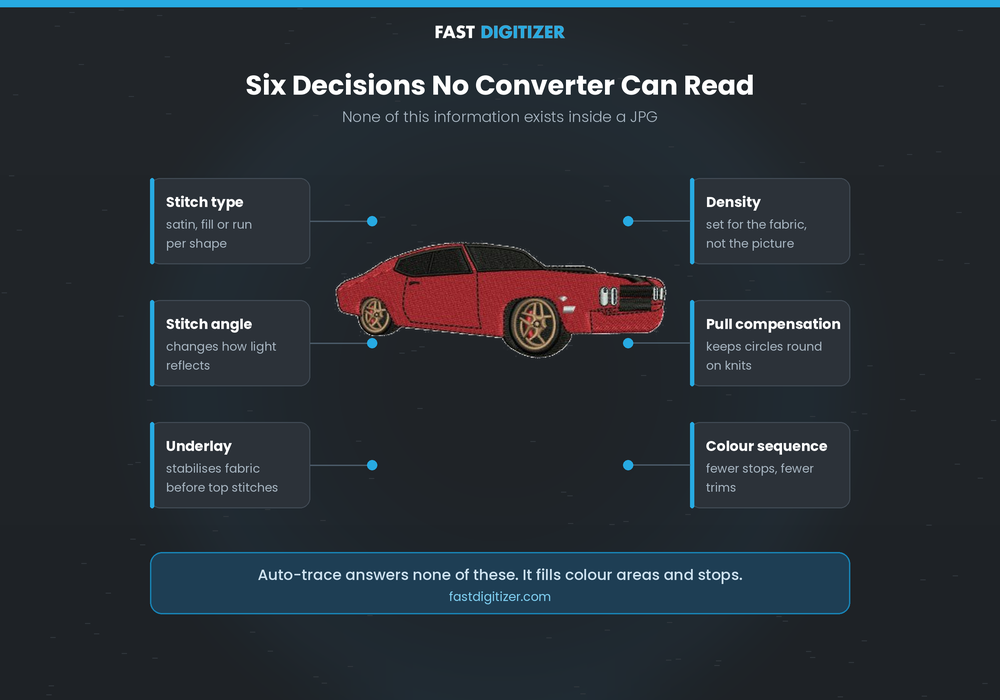
Software that claims to convert JPG to embroidery file automatically is running an auto-trace. It looks at colour boundaries and fills the areas it finds, whereas manual digitizing looks at fabric behaviour and plans around it. That single difference explains most failed sewouts.
For example, consider a simple two colour badge. Auto-trace assigns a fill to each colour region and stops there. A digitizer instead asks how the polo knit will stretch, sets pull compensation so the circle stays circular, adds an underlay layer to stabilise the fabric first, chooses stitch angles so adjacent shapes catch light differently, and sequences the colours so the machine trims as little as possible.
Consequently, none of those decisions appear in the JPG, and no software can read them from it. Auto-trace produces something quickly, yet it produces the same output whether the garment is stiff canvas or stretchy performance fabric.
Tools That Convert JPG to Embroidery File
Several programs convert JPG to embroidery file formats directly. They differ mainly in how much control you get afterwards.
Ink/Stitch (free)
Firstly, Ink/Stitch is open source and runs as an extension inside Inkscape, so you install Inkscape first. It handles both tracing and manual digitizing, which makes it the strongest free option. Version 3.3.0 arrived on 31 July 2026, adding a cross stitch type with a setup assistant, new lettering fonts, and easier even width satin columns.
SewArt
Meanwhile, SewArt from S&S Computing focuses specifically on turning images into stitch files. It costs around $75, runs on Windows, and includes a free thirty day demo. Its colour reduction and cleanup tools help considerably, since preparing the image properly matters more than the tracing step itself.
Trials of professional software
Similarly, Hatch by Wilcom offers a thirty day trial, and Brother PE-Design has a trial version too. These give you far more control than a pure auto-tracer, although the learning curve is real. Full professional packages cost hundreds to thousands of dollars per year.
Free editors and viewers
Finally, Bernina ARTlink and My Editor are free, although they edit and convert existing stitch files rather than creating them from images. They are useful after digitizing, not instead of it.
Can You Convert a Photo JPG to an Embroidery File?
Yes, even though the result looks nothing like the photo on screen. Instead, photo embroidery uses layered fills in a limited palette to suggest tone rather than reproduce it, so the design reads as an interpretation rather than a copy.
Generally, three conditions decide whether it works. The photo needs strong contrast and a clear subject, the finished size needs to be generous since tonal blending demands space, and your expectations need to allow for simplification. Portraits with soft lighting rarely survive the process well.
Therefore, for most commercial work, a simplified illustration produces a far better patch or garment than a literal photo attempt.
Preparing Your JPG Before You Convert It to an Embroidery File
Better input produces better output, and these five steps take only minutes.
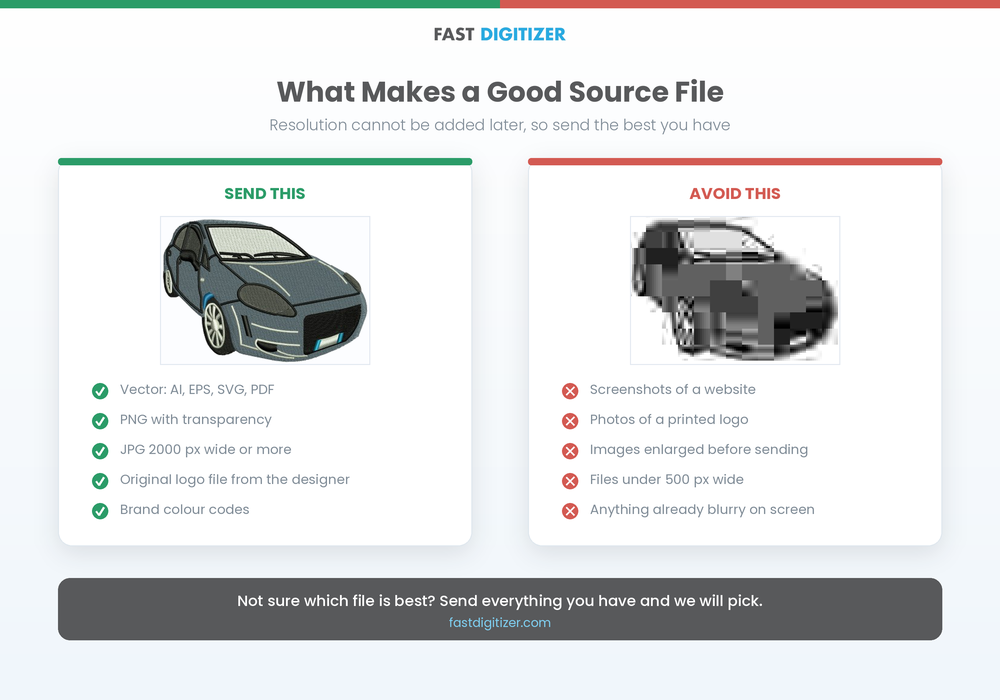
- Send the largest version you have. Since resolution cannot be added later, so a 2000 pixel wide file beats a 400 pixel one every time.
- Avoid screenshots. Because screen captures compress twice, they often carry extra background artifacts.
- Include the original if it exists. In particular, an AI, EPS, SVG or PDF version removes the compression problem entirely.
- Skip the resize. Similarly, enlarging a small JPG before sending adds blur rather than detail.
- Note the brand colours. Finally, screen colours and thread colours differ, so supply codes if the match matters.
What Your Digitizer Needs From You
Five details prevent nearly every revision request. Send them alongside the artwork and the first file usually lands correctly.
Finished size in inches. Not pixels, and certainly not “about the size of a logo”. Everything from stitch density to whether the text survives depends on this number.
Placement. Left chest, cap front, sleeve, jacket back and towel all behave differently under the needle, since curvature and stretch vary.
Fabric. Cotton pique, performance knit, fleece, structured twill and terry each need different underlay and density, so name yours.
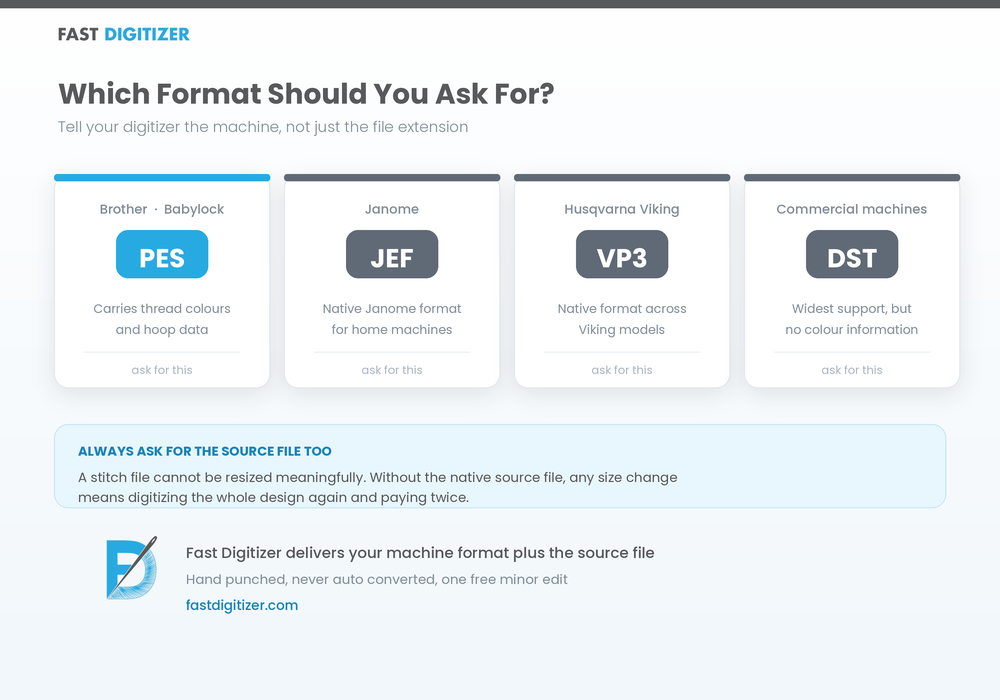
Machine format. DST is the widest accepted commercial format, whereas PES suits Brother and Babylock, JEF suits Janome and VP3 suits Husqvarna Viking.
Anything that must not change. For instance brand colours, a specific typeface, or a detail the client will check.
FAQs About How to Convert JPG to Embroidery File
How can I convert a JPG image to an embroidery format?
First, open the image in digitizing software such as Ink/Stitch or SewArt, then reduce the colours, trace or manually redraw each shape, assign stitch types and directions, then export in your machine format. For logos and commercial work, manual digitizing produces far better results than tracing.
How to turn a picture into an embroidery pattern for free?
Ink/Stitch is completely free and handles the whole process once you learn it properly. SewArt offers a thirty day demo, and Hatch and PE-Design both have trial versions. Free browser tools exist too, although they auto-trace and usually disappoint on anything detailed.
Can I digitize a photo for embroidery?
Yes, by using layered fills in a limited thread palette. However, the result interprets the photo rather than reproducing it. Strong contrast, a clear subject and a generous finished size all improve the outcome considerably.
How to convert JPG to PES embroidery file for free?
First, digitize the image in Ink/Stitch, then export as PES and choose a version your Brother machine supports. Remember that PES carries thread colours, so assign them before exporting rather than at the machine.
Why does my auto-traced file sew badly?
Because auto-trace ignores fabric entirely, problems follow. Without underlay, pull compensation and planned stitch direction, designs pucker on knits, distort circles and close up small lettering. Those settings come from a person, not from the image.
Does a PNG work better than a JPG?
Usually yes, since PNG uses lossless compression, so edges stay sharp and no halo artifacts appear. Transparency helps too, since the background separates cleanly from the design.
How long does digitizing take?
Typically a simple left chest logo is ready the same working day, while detailed illustrations or photo work take longer. Complexity matters far more than file size, so a small busy logo can take longer than a large simple one.
Convert JPG to Embroidery File the Way That Works
In short, the honest summary is simple. You cannot convert JPG to embroidery file the way you convert a document to PDF, because the stitch data has to be created rather than translated. Send the cleanest artwork you have, state the finished size and fabric, and let a person make the stitch decisions. That approach costs less than a ruined batch of garments and takes about the same amount of time.